


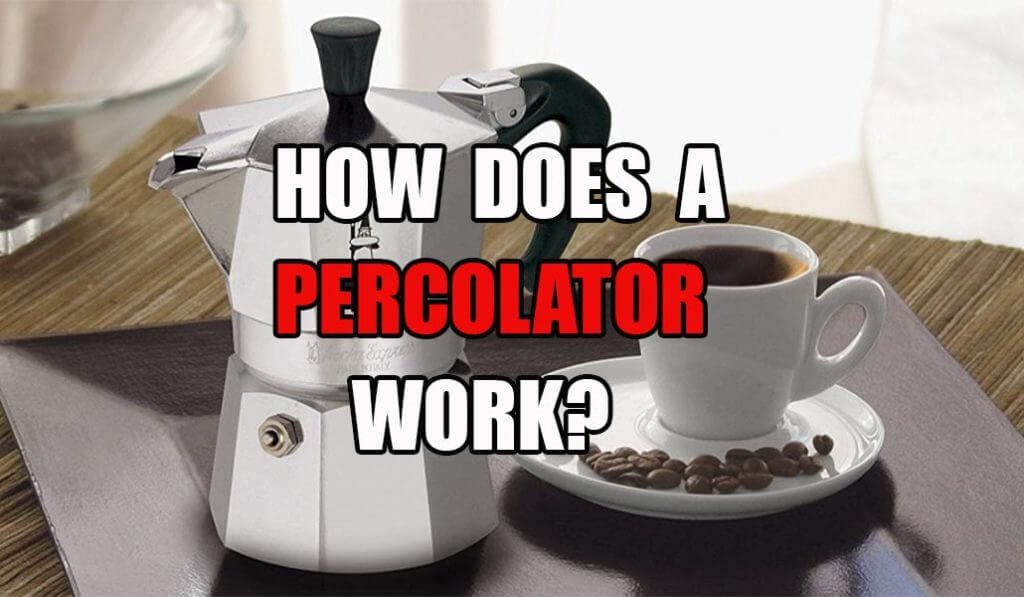
How Does A Percolator Work – How Good Is it?
Are you looking for a coffee brewing method that produces bold and robust coffee? Percolators are often overlooked yet are incredibly useful for making a quality cup. Their ability to control the brewing process and have a pot of coffee with a consistent taste is unparalleled. So, how does a percolator work?
What Is A Percolator?
A percolator is a type of coffee maker that uses steam and gravity to extract flavor from coffee beans. It is one of the oldest and most beloved methods for brewing coffee, with a long history dating back to the early 19th century. In a percolator, water is added to the bottom of the pot, which is connected to the top of the pot via a tube. As the water boils, it is forced up through the tube, percolating through the ground coffee and eventually dripping back down into the bottom of the pot, which produces a strong, flavorful cup of coffee.
How Does A Percolator Work?
A percolator is a type of coffee pot that uses the process of percolation to brew coffee. A percolator works by heating water in the lower chamber of the pot and forcing it up through a tube and into the upper chamber, which is filled with ground coffee. The hot water then seeps through the coffee grounds and back down into the lower chamber, where it is heated again, and the process repeats. This continuous hot water circulation through the coffee grounds extracts the flavors and oils from the beans, producing a strong and full-bodied cup of coffee.
History Of A Percolator
The first percolator was invented in 1865 by a man named James Nason, but it was not until the early 1900s that percolators became popular for making coffee. However, the earliest percolators were made of metal and used on stovetops. They consisted of a chamber for the coffee grounds, a chamber for the water, and a tube connecting the two.
Percolators have undergone numerous design changes over the years. Electric percolators, which can be plugged into an outlet and do not require a stovetop, became popular in the mid-20th century. Today, percolators are available in a range of materials, including stainless steel, glass, and plastic, and come in various sizes and styles to suit different needs.
Before the invention of the electric percolator, coffee was typically made by boiling ground coffee in a pot of water. This method often resulted in coffee that was overcooked and bitter. The percolator was a game-changer because it allowed the coffee to be brewed at a lower temperature, which resulted in a smoother and more flavorful cup of coffee.
Percolators fell out of favor in the 1970s and 1980s with the rise of drip coffee makers, generally faster and producing a cleaner-tasting cup of coffee. However, some people still prefer the taste of coffee made in a percolator, and they continue to be used today.
How To Make Coffee In A Percolator?
Making coffee in a percolator is a simple process. Here are the steps you can follow to make coffee in a percolator:
1. Start by adding water to the percolator’s water chamber. The amount of water you add will depend on the size of your percolator and how much coffee you want to make. As a general rule, you should use about 1 cup (8 ounces) of water for every 1 cup (8 ounces) of coffee you want to make.
2. Next, add the desired amount of coffee grounds to the percolator’s grounds chamber. The amount of grounds you use will depend on your personal taste preferences. A good starting point is to use 1 to 2 tablespoons of grounds for every cup of water.
3. Place the percolator on a heat source, such as a stovetop burner or an electric hot plate. If you use an electric percolator, plug it in and turn it on.
4. Bring the water to a boil. As the water heats up, it will rise up the tube and into the chamber with the coffee grounds. The hot water will then percolate, or filter, through the grounds and back into the chamber with the water. This process will continue until the desired strength of coffee is reached.
5. Once the coffee is done brewing, remove the percolator from the heat source and pour the brewed coffee into a mug or other container. Be careful when pouring the coffee, as the percolator and the coffee will be hot.
6. Enjoy your freshly brewed coffee!
How To Clean A Percolator?
Cleaning a percolator is an important step in maintaining the quality and lifespan of your coffee pot. Over time, coffee grounds and hard water deposits can build up inside, affecting the taste and performance. However, regular cleaning can keep it functioning correctly and ensure you always enjoy your morning cup. This article will provide an overview of the steps involved in cleaning a percolator, as well as some tips and tricks to help make the process as easy and effective as possible.
1. Disassemble the percolator: Remove the upper and lower chambers and any other detachable parts.
2. Wash the detachable parts: Use warm, soapy water to wash the upper and lower chambers and detachable parts. Rinse them thoroughly and set them aside to dry.
3. Wipe down the base: Use a damp cloth to wipe down the base of the percolator. Be sure to remove any excess coffee grounds or residue.
4. Descale the percolator: If the percolator has hard water deposits, you may need to descale it. To do this, fill the lower chamber with equal parts water and white vinegar and let it sit for about an hour. Then, run a full pot of water through the percolator to rinse it out.
5. Reassemble the percolator: Once all the parts are clean and dry, reassemble precisely how you took it apart.
6. Repeat the process as needed: Depending on how frequently you use your percolator, you may need to clean it every few weeks or months.
Note: Be sure to refer to the manufacturer’s instructions for specific cleaning and maintenance recommendations for your particular percolator.
FAQ
How Long Does It Take To Percolate Coffee?
The amount of time it takes to percolate coffee will depend on a few factors, including the type and size of the percolator, the desired strength of the coffee, and the starting temperature of the water.
On average, it takes about 7 – 10 minutes to percolate coffee using a standard electric percolator with a 12-cup capacity or 5 minutes for the stovetop. However, this can vary based on the factors mentioned above. Therefore, it is always a good idea to refer to the manufacturer’s instructions for specific brewing times for your particular percolator. Anything over 10 minutes will burn the brew and taste bitter, which is not very pleasant.
How Much Coffee Do You Put In A Percolator?
The specific amounts of coffee you put in a percolator will depend on the size and your taste preferences. Generally, a good rule of thumb is to use about 1-2 tablespoons of ground coffee per 6 ounces of water. Furthermore, if you use a 12-cup percolator that holds 72 ounces of water, you should use about 12-24 tablespoons of ground coffee. It is always a good idea to start with the lower end of this range and adjust to taste. Remember that the strength of the coffee can also be adjusted by the brewing time.
What Coffee Do You Use In A Percolator?
The best coffee to use in a percolator is medium to medium-dark roast. These roasts tend to have a balanced flavor profile and work well with the bold, robust flavor. Furthermore, it is important to note that coarsely ground coffee is typically used, as they allow the water to flow more easily through the coffee grounds.
What Temperature Should You Percolate Coffee?
Ideal temperature for percolating coffee is between 190-205 degrees Fahrenheit. This temperature range allows the water to extract the full flavor and strength from the coffee grounds without burning them.
The brewing temperature for percolating coffee should never reach boiling point as this will burn the coffee. Bring the temperature up slowly until it gets between 195°F (91°C) – 205°F (96°C).
Coffee will be under-extracted if the water passes less than 195°F and over-extracted above 205°F. It’s recommended to have the temperature higher for the best-tasting cup!
What Is The Difference Between A Coffee Percolator And A Drip Coffee Maker?
A coffee percolator and a drip coffee maker are two different types of coffee brewing devices that use different methods to produce a cup of coffee.
A coffee percolator is a pot-like device that cycles hot water through coffee grounds to extract the desired level of flavor and strength. The coffee is then ready to be served from the pot. Percolator coffee is known for its bold, robust flavor and is a popular choice among coffee enthusiasts who prefer a strong cup of coffee.
On the other hand, a drip coffee maker brews coffee by dripping hot water over ground coffee beans contained in a filter. The brewed coffee then drips into a carafe or other container. Drip coffee makers are relatively simple to use and produce a consistent cup of coffee but do not offer as much control.
The brewing method is the main difference between a coffee percolator and a drip coffee maker. Percolators use a process of cycling hot water through coffee grounds, while drip coffee makers use a process of dripping hot water over ground coffee beans.
Check Out Other Articles
Chemex Vs French Press - Do You Know The Differences
How To Remove Old Coffee Stains From Clothing - How Difficult Is It?
How Much Does A Coffee Cup Cost: What Materials Should You Use
10 Simple Mistakes When Brewing Coffee - What Are They
What Espresso Machine Does Starbucks Use: Can You Buy One?
Popular Coffee Percolators
No products found.
Conclusion
To sum things up, a percolator is an effective and efficient way to brew coffee. Using steam, gravity, and time to produce a delicious cup. As a result, it is no wonder why the percolator remains a popular choice among coffee lovers.